The vocalist asked, "Did you make this with a clean pantyhose?" You betcha! She stepped up to the home-made pop filter and began to sing. I saved a few bucks by by straightening an old wire coat hanger which I then bent into the shape of a small circle apx 4" in diameter. Next, I cut a piece of a nylon pantyhose and stretched over the nylon over wire to make a screen. I then secured the pantyhose to the wire by tying it into a knot in several places around the circle. After the nylon was secured, I then attached the straight end of the coat wire to a boom stand by wrapping it around the microphone stand several times. Then I adjusted/bent as needed to make sure the pop filter was positioned correctly. For those that are unsure as to what a pop filter does, well it softens the "P" and "T" during pronunciation of lyrics while recording vocalist.
Another does of getting by, requires setting up a vocal isolation booth in the hallway with some quilts. This entire project is reminiscent of the days when I played camping with old sheets and blankets. [ha!] Seriously though, when I record a vocalist I usually prefer to add reverb post-recording (or after I record the vocal). So, that means I want the room to be dead--I don't want sound waves bouncing all over the place. To do this, I took my big old Tascam 388 multi-track reel-to-reel and moved it out in the living room. Then I placed the microphone and stand (equipped with my home made pop filter) out in the narrow hallway. Then I hung a huge patch quilt up right behind the vocalist. Wah-la! Now I have an isolation booth.
When you're recording you've got to get a strong guitar signal, right? But, if you don't have a direct box or a built in preamp on your recording board then what are you going to do? Well here's what I did back in the day. Give it a try. Hook the guitar up to the amp you usually use for live performances or practice amps. In my particular scenario I had to use my little practice amp. Then hook your amps output into the recording mixer board. This will allow the signal of the guitar to be higher. You can elect to record the amps equalizer and/or effect while recording the guitar or after the recording. Personally, I like to record everything standard and then manipulate it post-recording. But it all depends on your preference and what you and the artist prefer--especially if its a paying job.
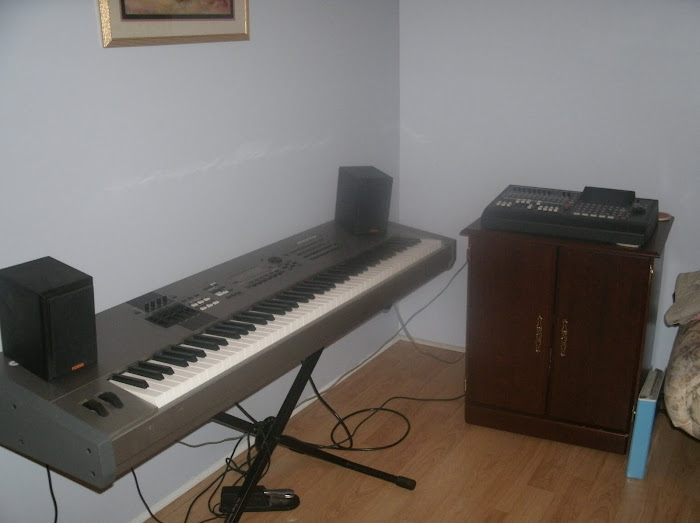
Another big deal is studio monitors, which mostly is headphones in a home recording studio. Sure, I listen through the studio monitors, but lets face it, most recording is done when my kids are asleep. I use the headphones a lot and check it later. Plus when artist are recording they prefer to have headphones on so they can hear clearly and control their own volume. But in a home studio it can be difficult to have enough headphone jacks for everyone at one time. Multi-line headphone adapters at the professional level can get really pricey fast. But don't freak out yet, there is a remedy. For $2.15 at your local Radio Shack you can buy a small battery operated (AAA -- weird, right?) multi-line headphone jack. It actually connect four set of headphones. The down side, is that there isn't any individual volume controls but in a pinch it can save the day.
My philosophy is that its not what you use to make your music, its that you make it! Enjoy the trip.
Subscribe to:
Post Comments (Atom)
I love how you have used a green way of transforming things you need. I say green because you are using stuff around your home and not paying the over priced for electronics that will be outdated in 2-3 years. Not only is it cheap but you already have it in your house. Great thinking!!
ReplyDelete